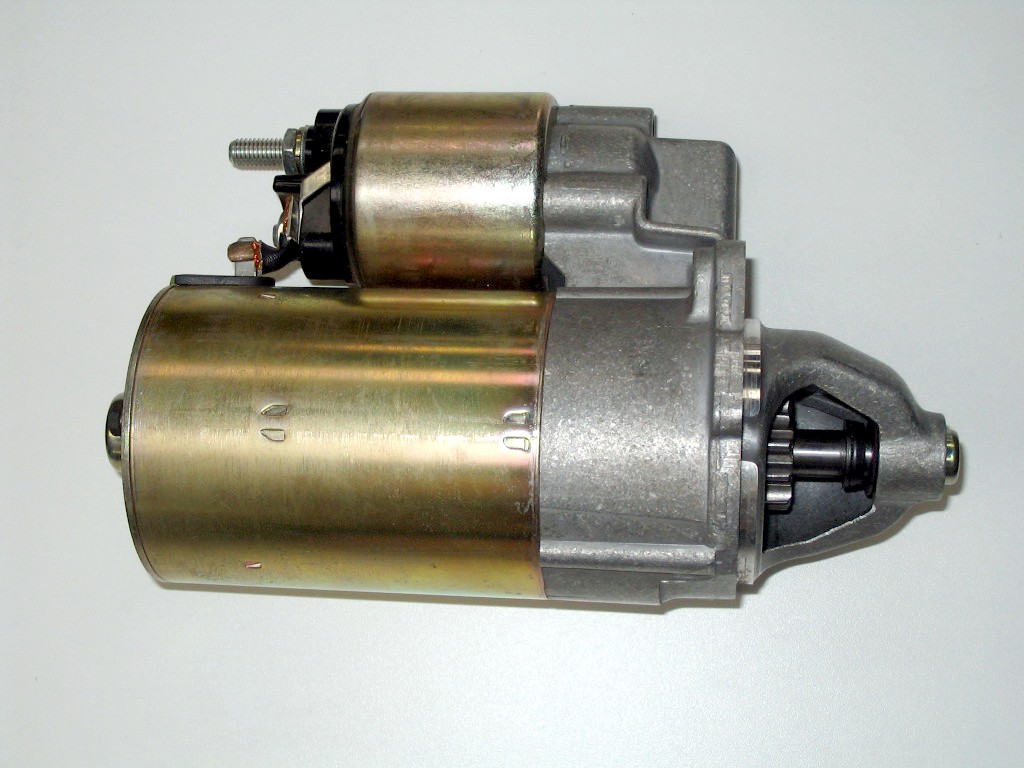
This week a vehicle was towed into our shop. The primary complaint being that when you went to turn the key and start it, the engine would not crank and would instead make a high pitched "whirring" sound. Most often when this is seen, the main problem is the starter itself malfunctioning. Normally, when you turn the key, a gear slides into contact with the flywheel, which is attached to both the Engine and Transmission. Once the gear is in place the starter spins the flywheel, allowing the engine to start. Sometimes the gear fails to engage the flywheel and spins in place, which also results in the engine not starting.
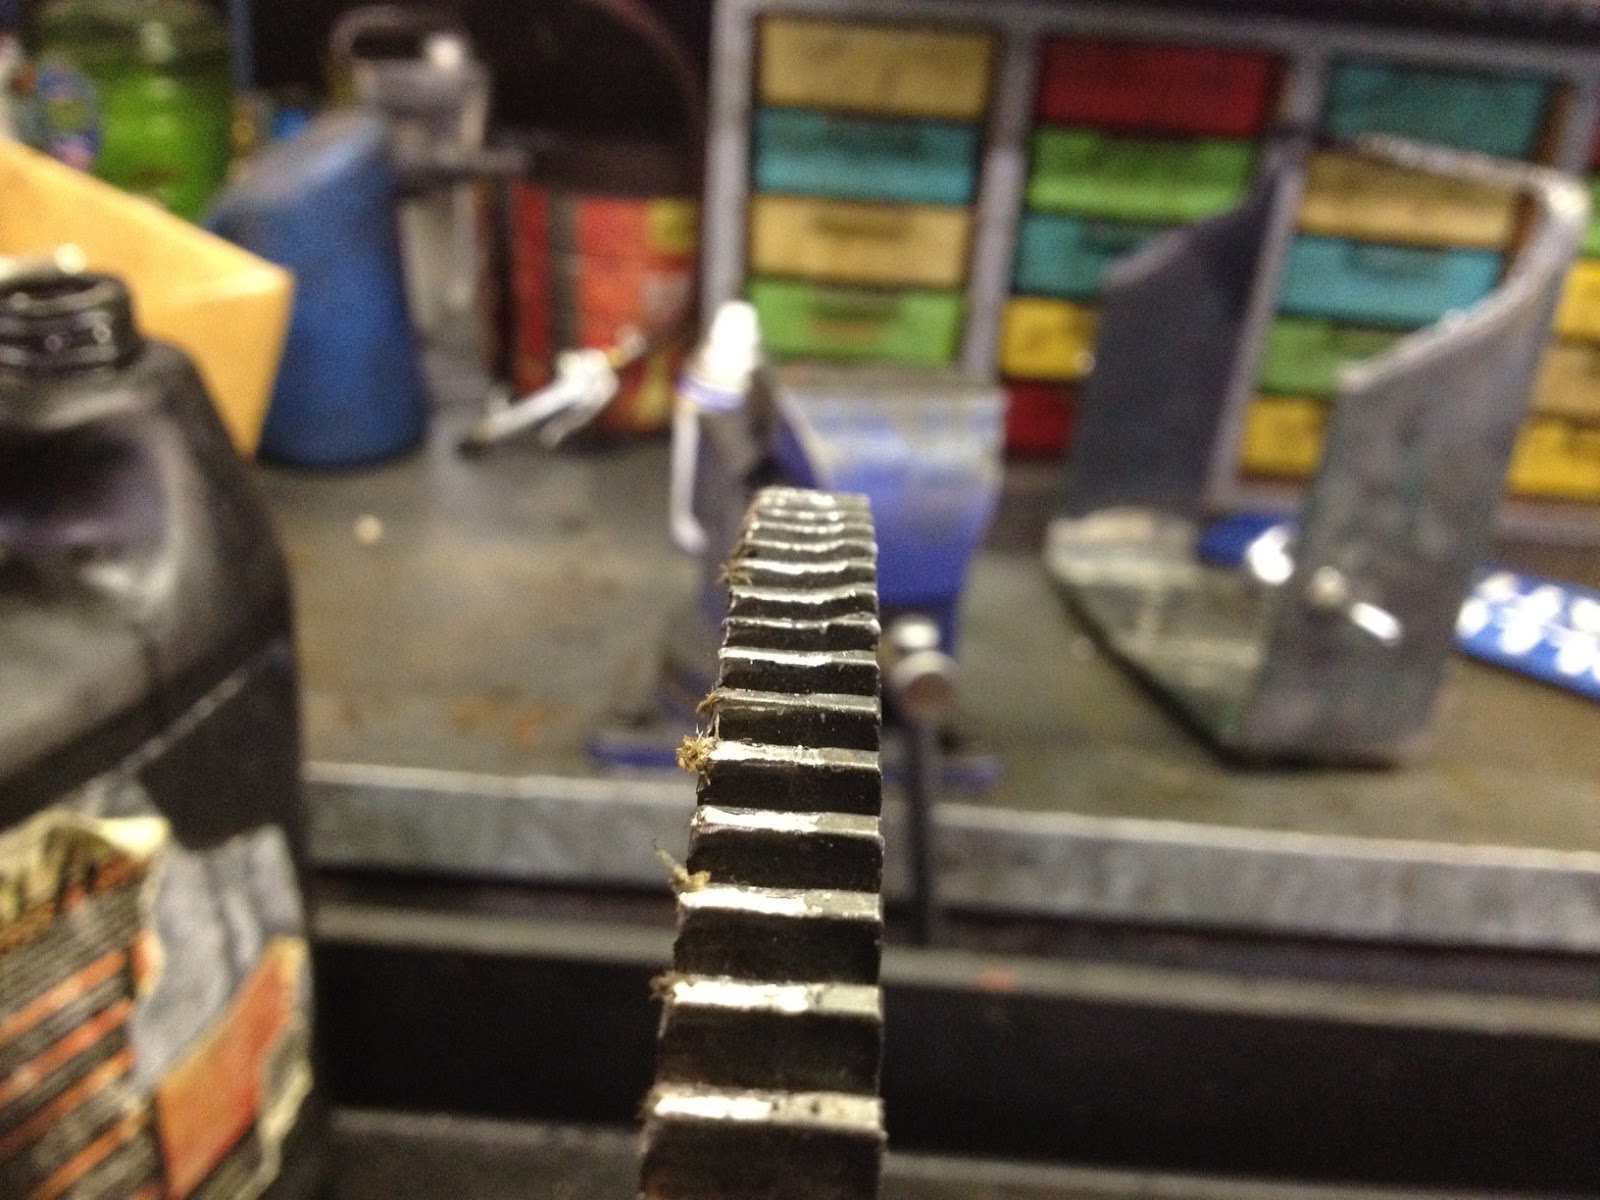
In this particular case, the teeth on both the starter and flywheel were worn, and a few were missing. Beyond the missing teeth, most of the others on the flywheel and the teeth on the starter were worn to such an extent that they were not contacting each other. As you can see in the following photographs, there are several spots that are damaged on the flywheel. The only solution is to replace the flywheel and starter, and in order to do that you have to partially remove the transmission to gain access to the flywheel.
As you can see, the left side of these teeth are worn
Another area of the flywheel showing the damage on the left side (this is also the side that faces the front of the vehicle and the direction from which the starter engages)
Every once in a while we will get a car that comes into Bryant Automotive with a mysterious electrical problem. We'll run our normal diagnostics, and find the circuit that the problem is in. The difficulty comes in finding exactly where the damage has occurred. Luckily, today's engine compartment guest has as far as we know, not damaged any wiring. But our most recent encounter with a mouse in the engine compartment led to thousands of dollars of repairs being necessary to replace the wiring loom that the mouse or rat had chewed through.
**Warning** The following are photographs of a dead mouse/rat.
This rotor was damaged by continuing to drive the truck well past when the brake pads had worn completely through.
In this photo you can see what remains of the outer portion of the brake rotor. The fins you see are usually sandwiched between the two rotor surfaces and serve as a cooling feature.
A Close up view of the rotor, the thin metal between each fin is what remains of the outer portion of the rotor
The drivers side rotor showing what normal wear on a rotor looks like.
Brand New rotor
Although difficult to see, this is a view of both the inner and outer surfaces of the rotor, as well as the fins between them.
Here at
Bryants Automotive we do all kinds of work on cars, trucks and vans.
Lately we have had many vehicles come in with cooling system problems. A
typical complaint from customers is that the vehicle is overheating.
The customer has noticed this either from the heat gauge on the dash,
steam rolling from under the hood.
Initially
we sign up customers vehicles for a cooling system inspection. This
gives the technician the time to look the entire cooling system over.
The technician starts by checking the coolant level when the vehicle has
come in and its level of protection (freezing and boiling point). The
technician then pressure tests the system to check for leaks. Leaks can
be found coming from the water pump, bypass hoses, head gasket, radiator
hoses, heater hoses, engine freeze plugs, thermostat housing, and
radiator.
This
week we had a vehicle come in with an overheating problem. Sometimes
vehicles can have more than one problem that is contributing to
overheating. On this particular vehicle the technician pressure tested
the vehicles cooling system and found a crack in the radiator. After replacing the
radiator and filling with coolant he checked the
temperature of the coolant as it worked its way through the cooling
system.
He
discovered that the coolant was not changing temperature. Typically
when the coolant leaves the engine on its way to the radiator it is hot,
cools off in the radiator and makes its return trip back through the
engine. He deduced that one of two things was happening.That the
thermostat was stuck closed (a thermostat stops coolant from flowing
until reaching optimum working temperature for the motor where it then
opens to let coolant freely pass through the cooling system). Or that the water pump was not working correctly. He
replaced the thermostat and was still having the coolant flow problem.
The next step was to remove the water pump and inspect the impeller. Essentially the
impeller pushes the coolant through the cooling system. The water pump
is driven (turned) by the car engine with the serpentine belt in this case. Below is a short video that shows
the water pump and impeller.
The impeller is NOT
supposed to separate from the water pump. With this vehicle the water pump was turning and the impeller was separated from the
water pump and not able to do its job. Which is to push coolant through the cooling
system.
After
replacing the water pump and filling with coolant we test drove the
vehicle. The new water pump is doing its job in the cooling system and
the vehicle no longer overheats.
This
is a not-so-short description of one cars journey getting fixed here at
Bryant Automotive. I hope you are a little more knowledgeable about how
your cooling system works on your vehicle.
A customer came into Bryant Automotive today with a complaint that the brake pedal did not feel right. This complaint, described as a "soft" or "mushy" pedal, sometimes is due to air getting into the brake system, and is usually remedied by what is called Bleeding. To bleed the brakes, the fluid reservoir is filled, and the brake pedal pumped and depressed while a bleed screw is turned to allow air to exit at each wheel. This vehicle however, did not have a soft pedal caused by air in the system.
This is the left front brake caliper. The brakes were worn so significantly that the brake pad had actually fallen out of the caliper.
This was the right front. As you can see, it looks different from the the left front above. This is what the brake caliper and pad should look like.
This shiny surface is what normal wear on a brake rotor looks like. There is some groves formed, but overall the surface is fairly smooth. For a rotor like this we would use a lathe to smooth the surface to provide a clean surface, which translates to better friction against the new brake pads.
This is the left front Brake Rotor. As you can see, the grooves are deep and coarse. There is also a significant lip formed at the edge of the rotor. These are all caused by the excessive wear that occurred once the brake pad had worn through and fallen away. This rotor is not salvageable and must be replaced.
When we drive on our Redding California streets, we encounter blind spots. We can greatly reduce our blind spots
by properly adjusting our mirrors to give the widest coverage possible.
Make the adjustments to your SUV before you start to drive.
First, adjust your rear view mirror
to give the best possible view directly to the rear of your SUV or
other vehicle type. You don't need it to get a better view of either
side of the car, the kids in the back seat or your dazzling smile. The
rear view mirror should look to the rear.
Next, lean your head until it almost touches the driver's side window. Adjust your side mirror so that you can just barely see the side of your car.
Now, lean your head to the middle of the car and adjust the outside mirror so that you can barely see the right side of the car.
With your SUV mirrors adjusted this way, you'll have maximum coverage. Of course driving in Redding is a dynamic process – things change every second. So it's wise to take a quick look to the side when passing to make sure that another vehicle hasn't moved into an area you couldn't see in your mirrors.
As you drive in the Sacramento area, avoid staying in other diver's blind spots.
You can't count on them to be watching their mirrors and looking out
for you. Pass large trucks and buses on the left whenever possible. A
trucks' blind spot is much larger on the right.
Be attentive and wear your seat belts, and thank you for reading!
At Bryant Automotive in Redding California (96002) we install quality NAPA replacement parts. Give us a call at 530.222.3313.
Some people are confused by charges for diagnostic services for a vehicle repair,
even though many other services in life include diagnostic fees –
things like computer service, and appliance repair.
Even when we go into the doctor for a medical problem, we’re paying
him/her to diagnose our ailment and of course for the tests that go along
with it. So receiving a diagnostic charge for a tricky automotive
problem shouldn’t be a surprise. Automotive diagnostics
can cover quite a range. If you hear a noise in your brakes, a quick
visual check is usually enough to know what needs to be done. If you’re
having an intermittent problem with your engine, diagnosis may be much
more involved.
Some think that when the check engine light
comes on, the engine computer tells the technician exactly what the
problem is. The reality is much different. The trouble code just tells
your technician what engine parameter is out of range, not
what’s causing it. Your technician at Bryant Automotive needs to
determine the underlying problem that’s causing the symptom.
As you can imagine, some automotive diagnoses are quick and easy.
Others are more involved and difficult. Of course, we at Bryant
Automotive want to figure out what’s wrong with your vehicle and get you
back on the road as quickly as possible.
At Bryant Automotive in Redding California (96002) we install quality NAPA replacement parts. Give us a call at 530.222.3313. To learn more about NAPA AutoCare, visit www.NAPAAutoCare.com.